All Sky Camera
For some time i had been wanting to set up a fully automated remote observatory and monitoring of the remote site and the weather conditions was something i felt was essential to this so decided to install an all sky camera. I looked about for one available from various suppliers only to find some have been discontinued and other better ones are really really expensive and the ones i did not mind the price of didn’t really seem to have any of the features i was looking for such as automated image stacking to AVI, uploading to my website via FTP, automation of frame grabbing after astronomical twilight etc. I thought to myself, surely it can’t be that difficult to build a housing and find some software….
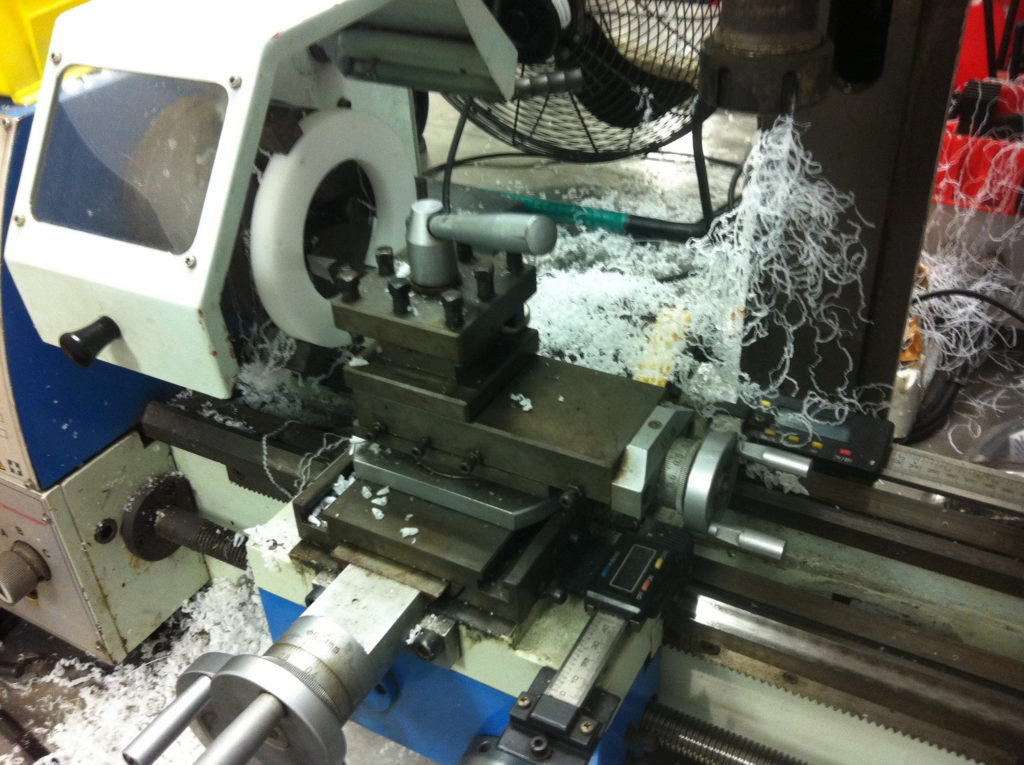
Building the housing was definitely the easy part as i got myself a big old lump of delrin and machined it down on the lathe and mill in my spare time at work and picked up an Oculus spare dome to fit to the top (about the only option for small housings that is already on the market as any other dome available was a minimum of 100mm without a skirt and was not of the best optical quality and would end up making my housing huge.
One thing that really annoyed me about most reasonable quality All Sky Cameras was that they were only available as a USB interface and after years in my current obs working with various USB equipment i have learned to hate how unreliable it all is and how prone to errors. For this reason i was adamant that the way to go would be a PoE (power over ethernet) camera that when connected to a managed POE hub (that i would use for my CCTV security system) could be remotely restarted and the connection reinitalized should there ever be an issue. This kind of limits your options to using something like a Point Grey or TIS (The Imaging Source) camera as they come with free SDK’s (Just because it is a PoE camera it does not mean you can tap into an IP stream as these are GigE machine vision devices). In the end i decided to go for a TIS camera as i have had other Point Grey cameras in the past that have failed. I decided to code it with Visual Studio 2012 (it’s free) and work in VB.NET as it seemed the easiest rout to follow and the least complicated structure from what i could see at first glance. It was a rather daunting start but once i got into it i found it was not as bad as i thought (i have never worked with software development in my life and knew nothing about any of this when i started) and actually came up with software that will work for ant TIS camera no matter what connection it uses and it is available freely from https://www.sky-cam-astro.uk/
The first challenge was machining down the big block of delrin i had into all the individual parts i needed.These consisted of the main body, a base cover and a retaining ring for the dome. Not the worlds largest or best lathe but it did the job. The hardest part was getting the block down to a manageable diameter as i had ordered a 135mm diameter block but what i received was a 170mm diameter block and the largest diameter my lathe chuck could handle was 138mm. There was a bit of sketchy drilling and tapping to put some threaded bar in one end and jamming a rotating center into the other end so that i could whittle it down a little and even that was a struggle as i could barely get the tool out enough for that. I did manage eventually though.
The main body was bored out and a groove machined into the base to take an o-ring seal as well as holes drilled and tapped for the bolts. A shoulder was machined all the way in where the camera would sit and bored all the way through just wide enough to take the neck of the camera. The idea was that the lens would screw in from the other side which had a stepped shoulder and would mean it would secure the camera in place without having to worry about any fancy mounting brackets or trying to thread holes inside the housing.
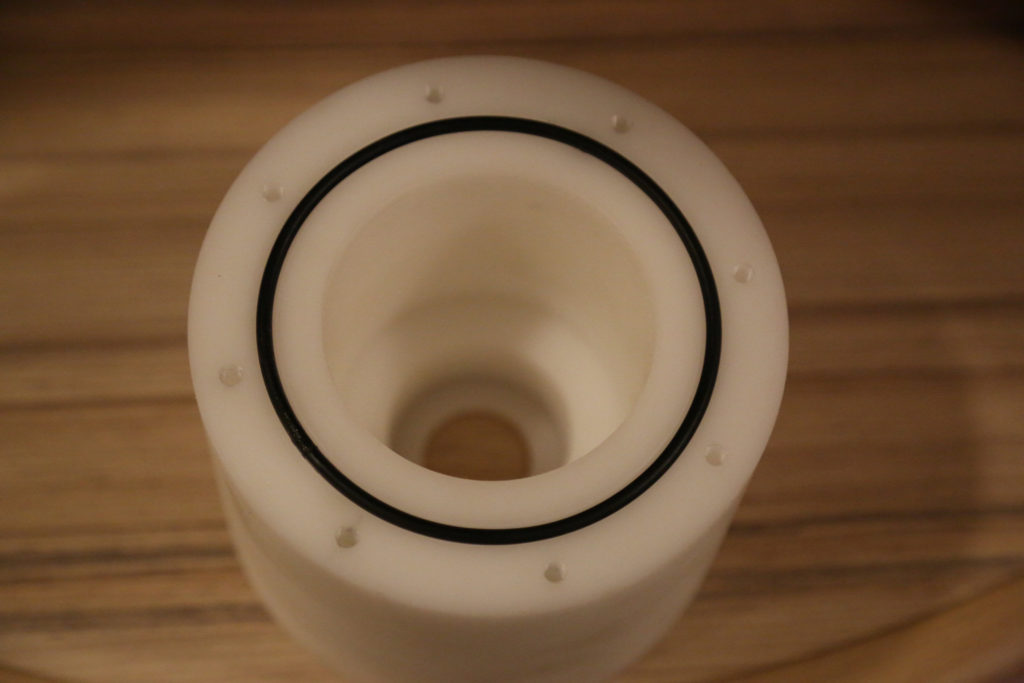
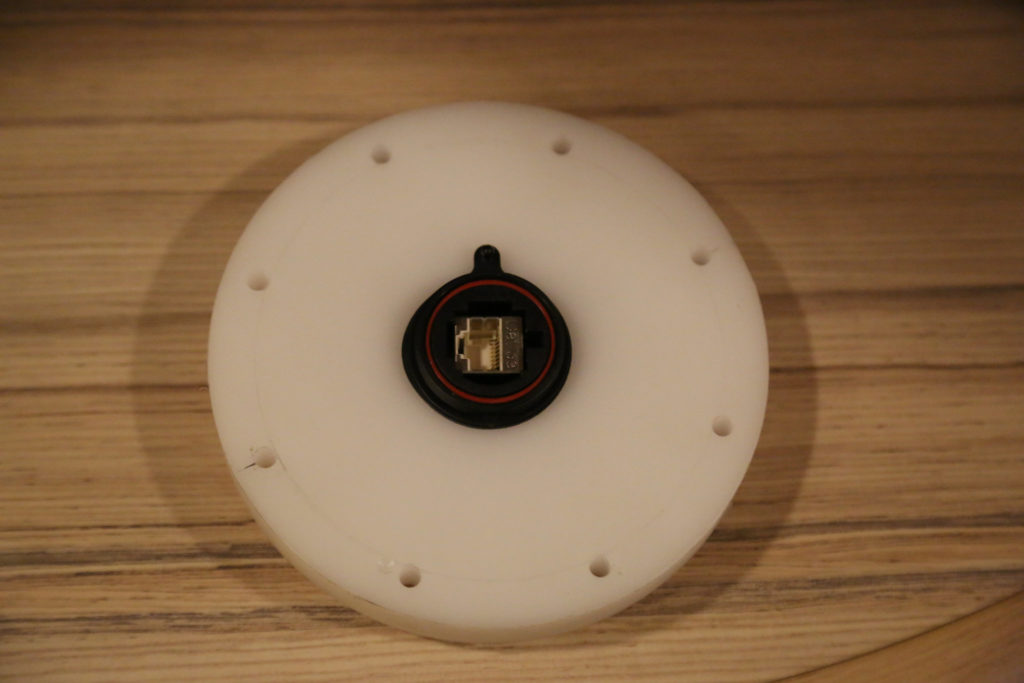
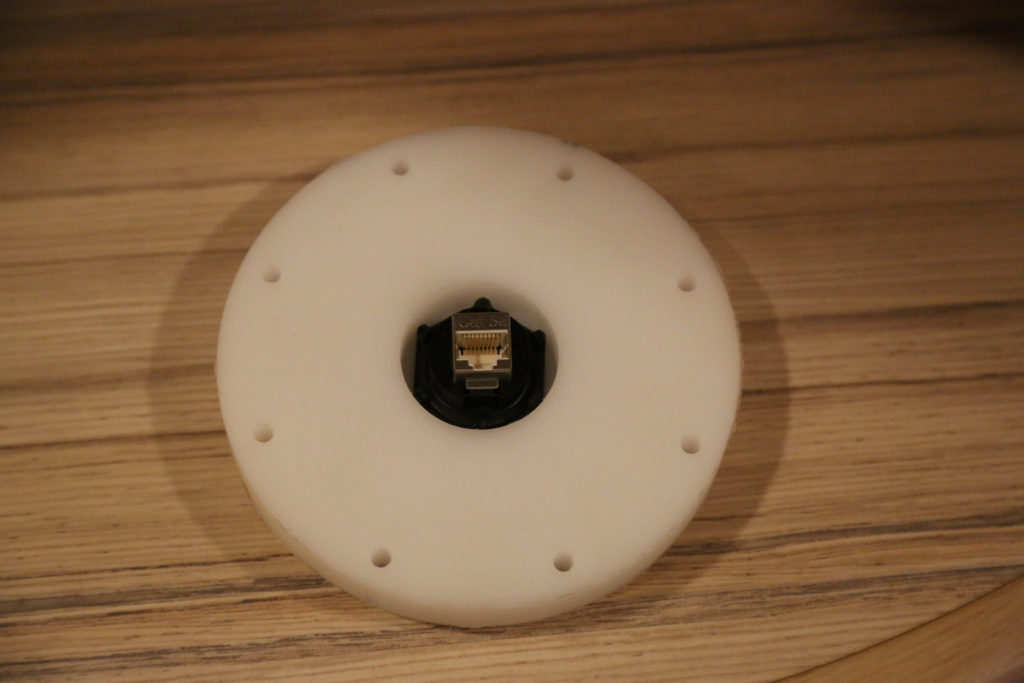
As I had decided to go with a PoE camera for simplicity I had to mount an IP68 rated fitting into the base to allow me to connect a network cable.
I recessed it on the inside to allow as much space as possible for the cable.
On the retaining collar for the dome I recessed it for the shoulder of the dome and then used a marine grade silicone to seal the dome in place and make a watertight seal. I did consider epoxy but should I ever need to replace the dome it is much easier to remove with a silicone based product.


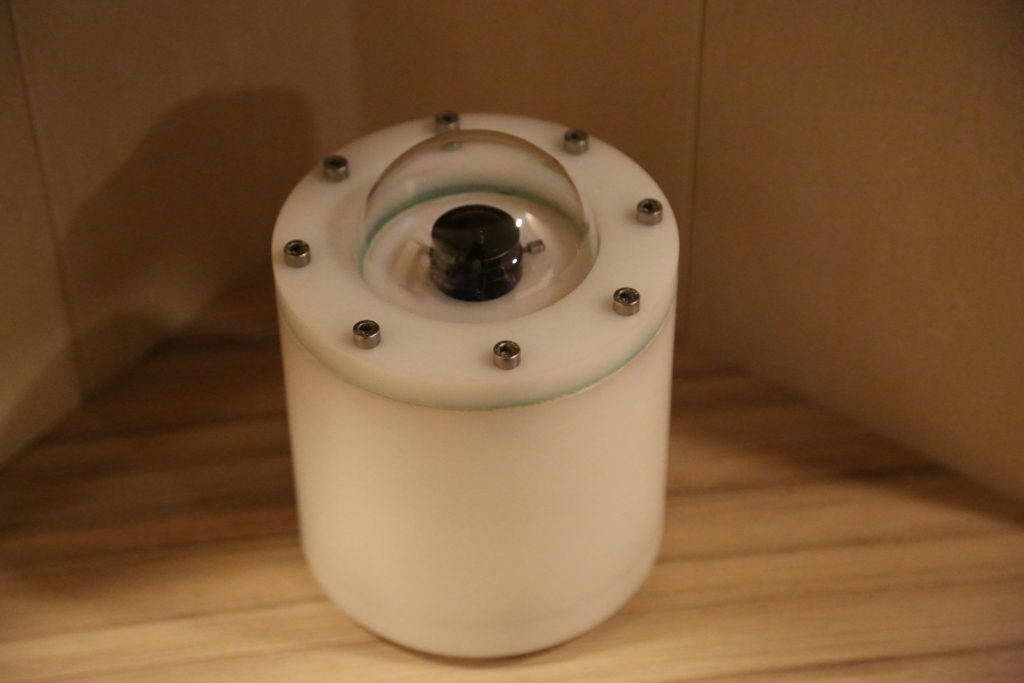
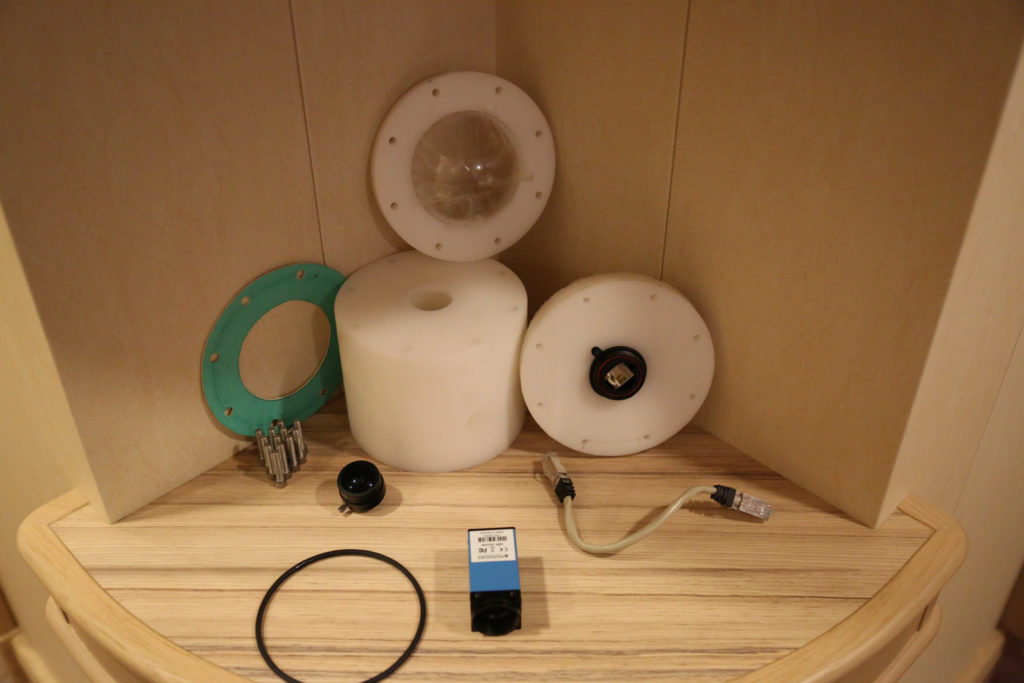
I then had all my parts ready for assembly.
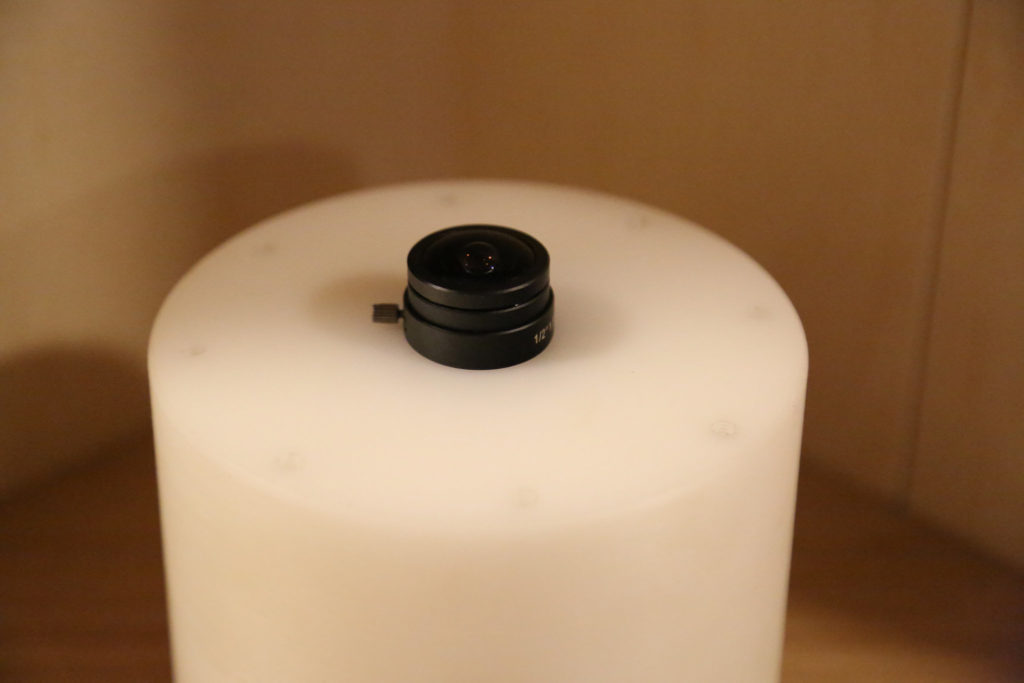
The camera was put inside and secured by screwing on the lens.
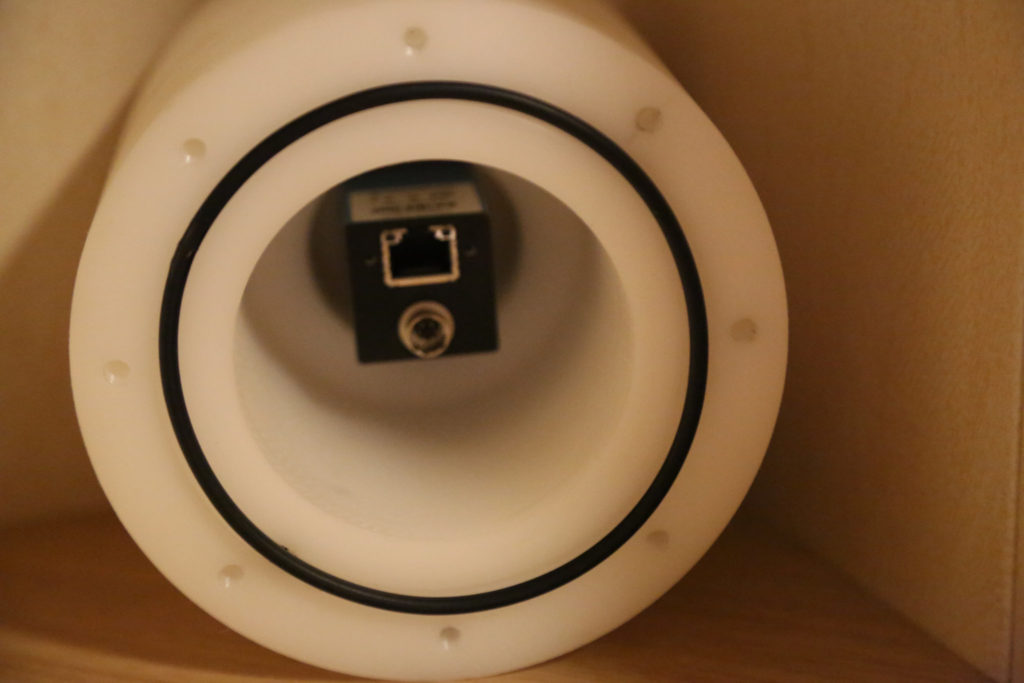
Patch cable connected.

And covers bolted on.